Adding a Client on Studio48
Documentation types
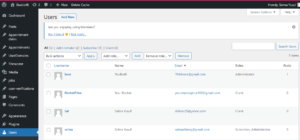
After login, on the left panel, click Users and choose Add New;
Enter User details i.e. Username, Email, First Name, Last Name, and Website if available.
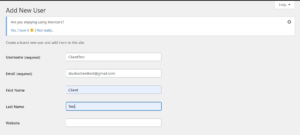
On the password field, you can use either of the following:
- The system generated password, or click generate a password to generate another one.

- Enter your own desired password and check the “Confirm Use of Weak Password” box

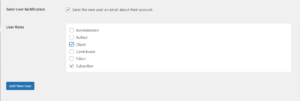
Check the Send User Notification box.
Under User Roles, check the client box. Check all details are correct and click Add New User.
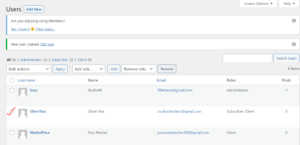
You will get a new User Created notification, and the Client will be on the list.
Once the client is added, send the details of the Client to an administrator, then either add the shops/areas he will use and send those or add these shops/areas later and then send them
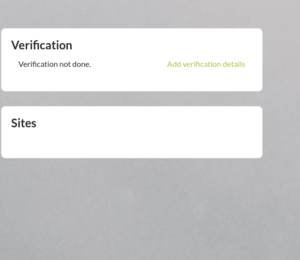
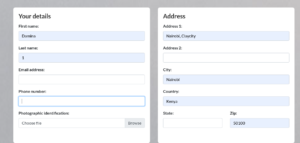
The client finally logs in and submits verification documents to complete the verification process as below. These documents include ID, work permit, passport, etc.